This shoot allowed me to test out the concept of using the self timer setting on my camera. In order to achieve this shoot I set up two soft box lightings either side of a white background facing my subject, in this case my subject was me. As I didn’t use a sync lead to make the flash work I used a fill flash that I attached to my camera to trigger the main soft box flashes. This enabled a fully lit background and created no shadows as I have learnt from previous experimental shoots.
The aim of this shoot was to set up the self timer on my camera to take photographs of myself as I was using Cindy Sherman’s concept of taking photos of herself. She directed the shoot as well as take part in he actual photographs. In order to set up the camera I was to click the left button on the camera dial. It gives you the options of Single Shooting, Continuous Shooting, Self-timer: 10 Sec, Self-tmer: 2 Sec and Self-timer: Continuous with the selection of 2 to 10 shots. To complete this shoot I used the Self-timer: 10 Sec and Self-timer: 2 Sec options.


I used a tri-pod to keep the camera in the same place for each shot as I had no one to hold the camera and I couldn’t hold it myself.
I have taken a photo of my camera setting for reference so I could write about it within this evaluation. I set it up to 1/125 shutter speed, Aperture F13 and ISO 100, along with the fill flash being set up on 1/128, 50mm. This enabled the soft box lighting flash to trigger and create a brightly lit picture. I started my shoot off by using the Self-timer: 2 sec option to find out I didn’t have enough time between pressing the button to getting in place for the photo to be taken. I then had to change the settings to self-timer:10 sec instead so I had enough time to move from the camera to in place for the photo. The 10 second setting was a little bit too much as I found myself standing there for around 4-5 seconds waiting, however the outcomes of the photos we good and well focused. It took me a while to get myself in the right place each time as I had to check in between photos. Usually I would tell my model to move from left to right until they were in the right position but considering I had to be in my own photos using the self timer this was not an option. I had to find out for myself what position and and angle was best by checking each shot individually. Once I had myself in the correct position I was able to take photos consistently by pressing the button, getting into place and repeat. It is a long process however I feel the concept and surrounding the ideas using body image and magazine makes it worth while.
Below I have shown evidence of me directing and featuring in my own shoot, I had one of my friends take these extra behind the scene photographs to show the process of the shoot.


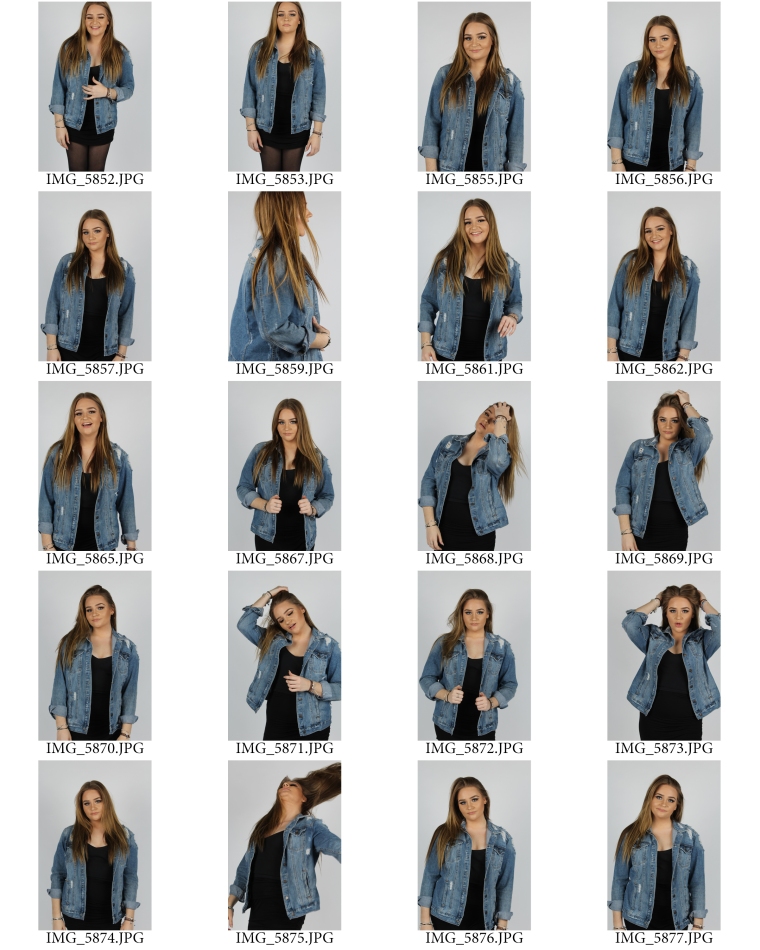
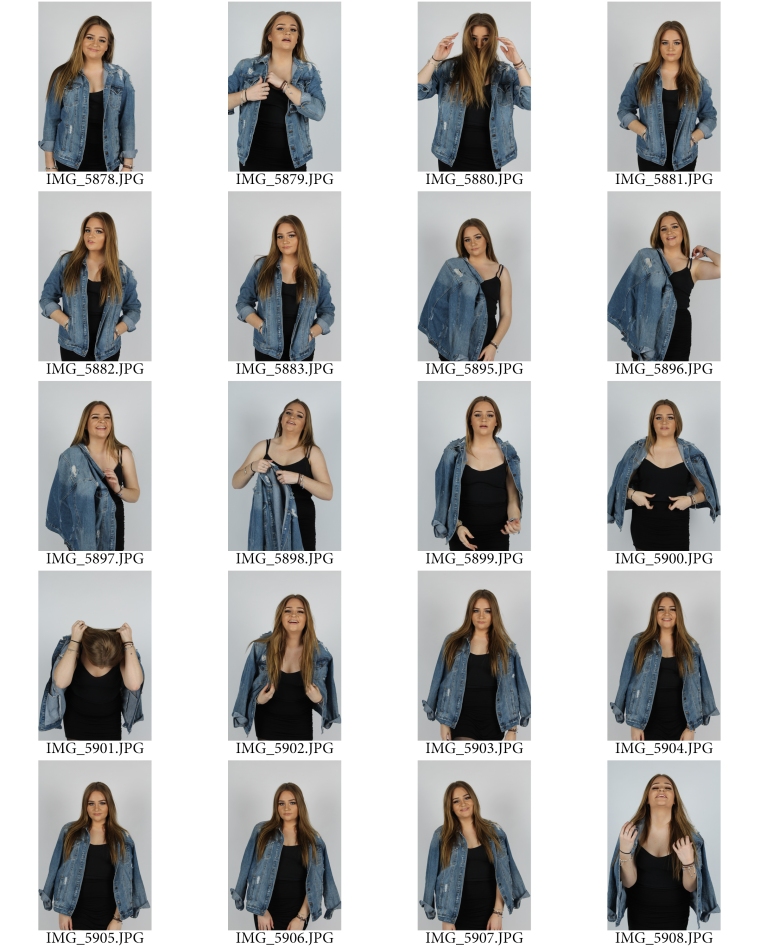
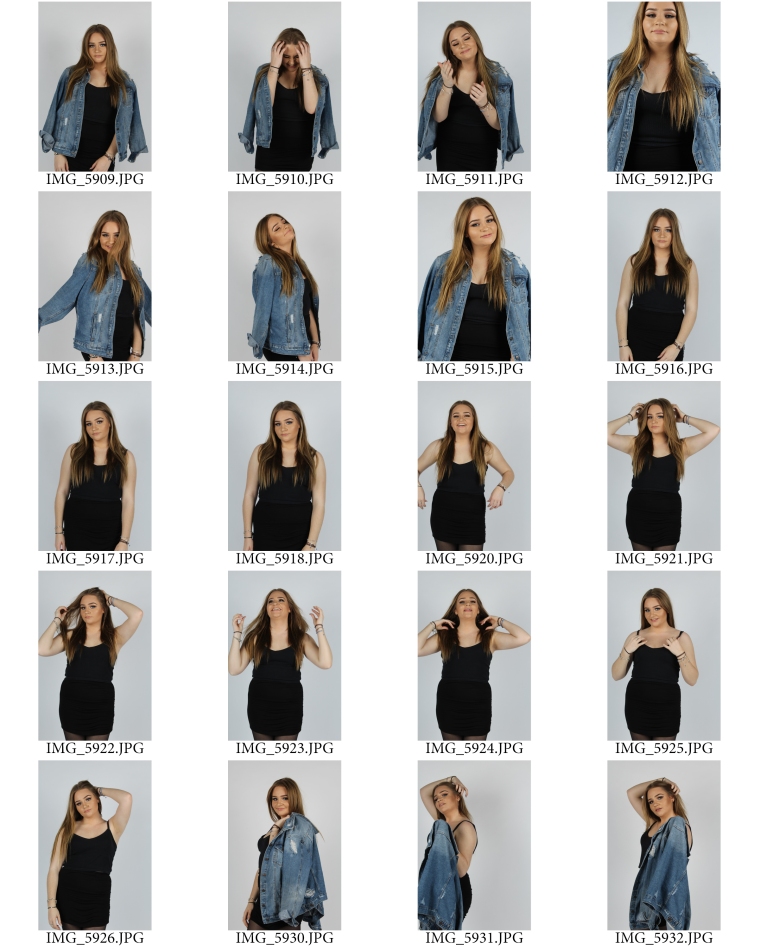
As you can see from looking at my contact sheets there are quite a few images where I am not ready at all, it took a bit of time to master how long I had between the click of the button and the camera taking the photo. As soon as I got the grasp of that I was able to take photographs that I could possible use in my final piece. To improve this shoot I should of had the colour balance set to flash instead of automatic, this would have helped to me the background our white instead of giving a light grey tinge.
Here are the outcomes of this shoot using self timer: