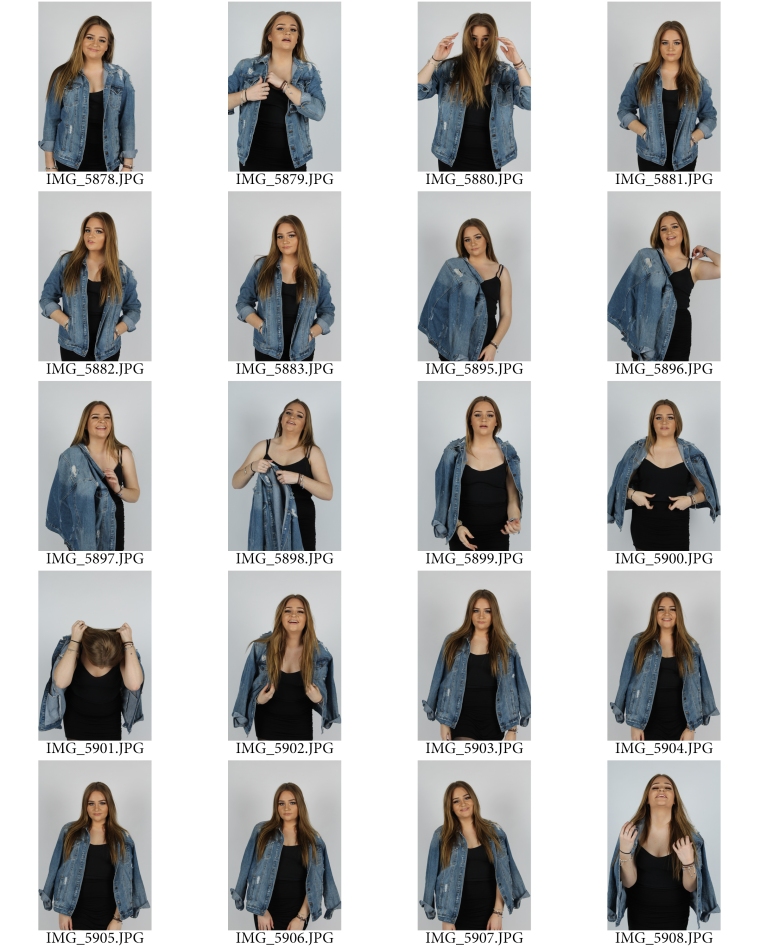
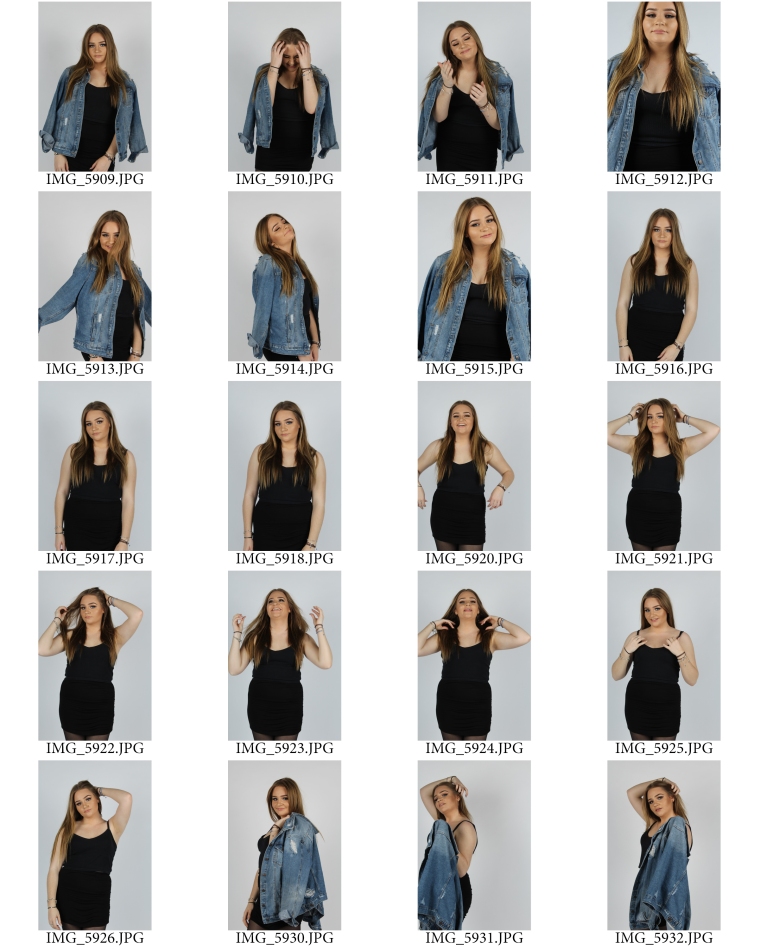
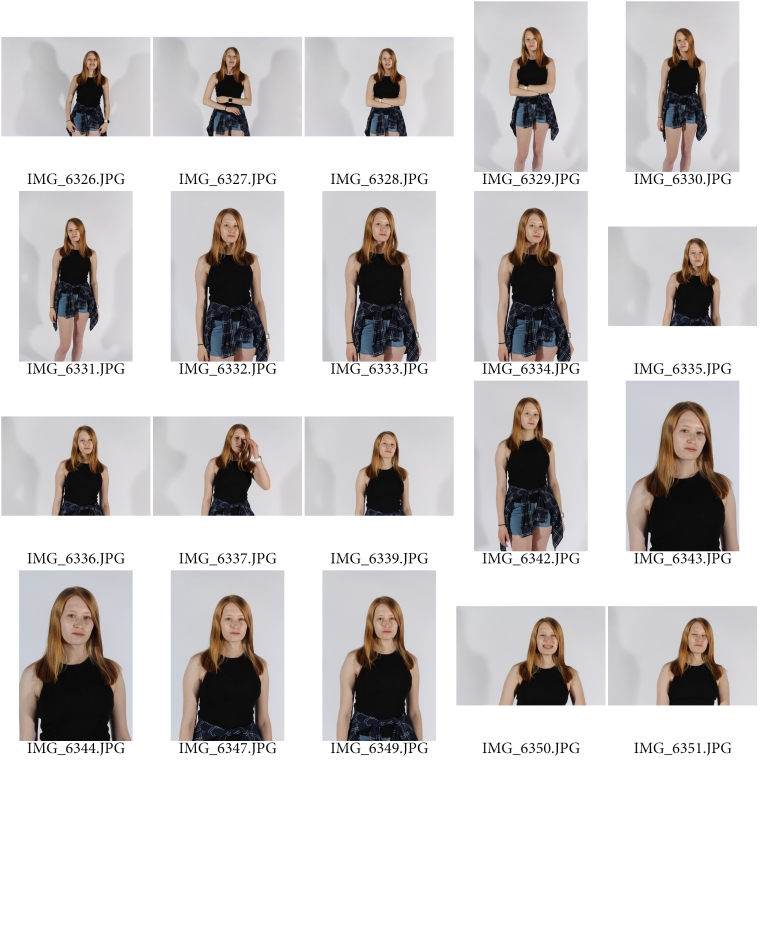
Experimental Shoot 7 Evaluation + Contact Sheets (Self Timer Technique)

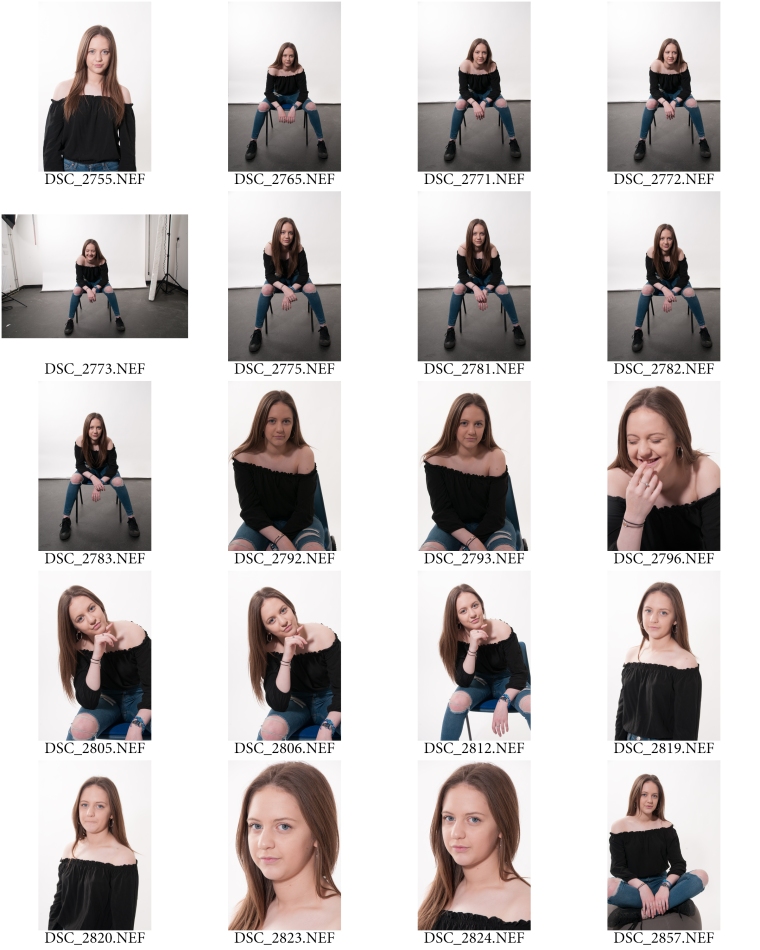
This shoot allowed me to test out the concept of using the self timer setting on my camera. In order to achieve this shoot I set up two soft box lightings either side of a white background facing my subject, in this case my subject was me. As I didn’t use a sync lead to make the flash work I used a fill flash that I attached to my camera to trigger the main soft box flashes. This enabled a fully lit background and created no shadows as I have learnt from previous experimental shoots.

The aim of this shoot was to set up the self timer on my camera to take photographs of myself as I was using Cindy Sherman’s concept of taking photos of herself. She directed the shoot as well as take part in he actual photographs. In order to set up the camera I was to click the left button on the camera dial. It gives you the options of Single Shooting, Continuous Shooting, Self-timer: 10 Sec, Self-tmer: 2 Sec and Self-timer: Continuous with the selection of 2 to 10 shots. To complete this shoot I used the Self-timer: 10 Sec and Self-timer: 2 Sec options.

I used a tri-pod to keep the camera in the same place for each shot as I had no one to hold the camera and I couldn’t hold it myself.

I have taken a photo of my camera setting for reference so I could write about it within this evaluation. I set it up to 1/125 shutter speed, Aperture F13 and ISO 100, along with the fill flash being set up on 1/128, 50mm. This enabled the soft box lighting flash to trigger and  create a brightly lit picture. I started my shoot off by using the Self-timer: 2 sec option to find out I didn’t have enough time between pressing the button to getting in place for the photo to be taken. I then had to change the settings to self-timer:10 sec instead so I had enough time to move from the camera to in place for the photo. The 10 second setting was a little bit too much as I found myself standing there for around 4-5 seconds waiting, however the outcomes of the photos we good and well focused. It took me a while to get myself in the right place each time as I had to check in between photos. Usually I would tell my model to move from left to right until they were in the right position but considering I had to be in my own photos using the self timer this was not an option. I had to find out for myself what position and and angle was best by checking each shot individually. Once I had myself in the correct position I was able to take photos consistently by pressing the button, getting into place and repeat. It is a long process however I feel the concept and surrounding the ideas using body image and magazine makes it worth while.

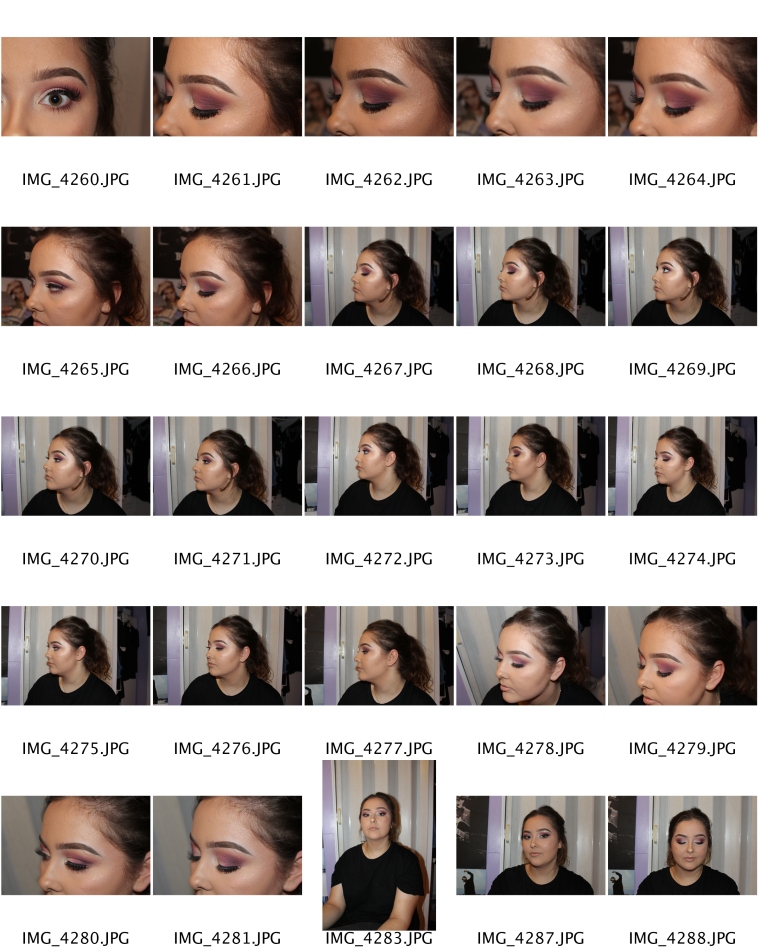
Below I have shown evidence of me directing and featuring in my own shoot, I had one of my friends take these extra behind the scene photographs to show the process of the shoot.

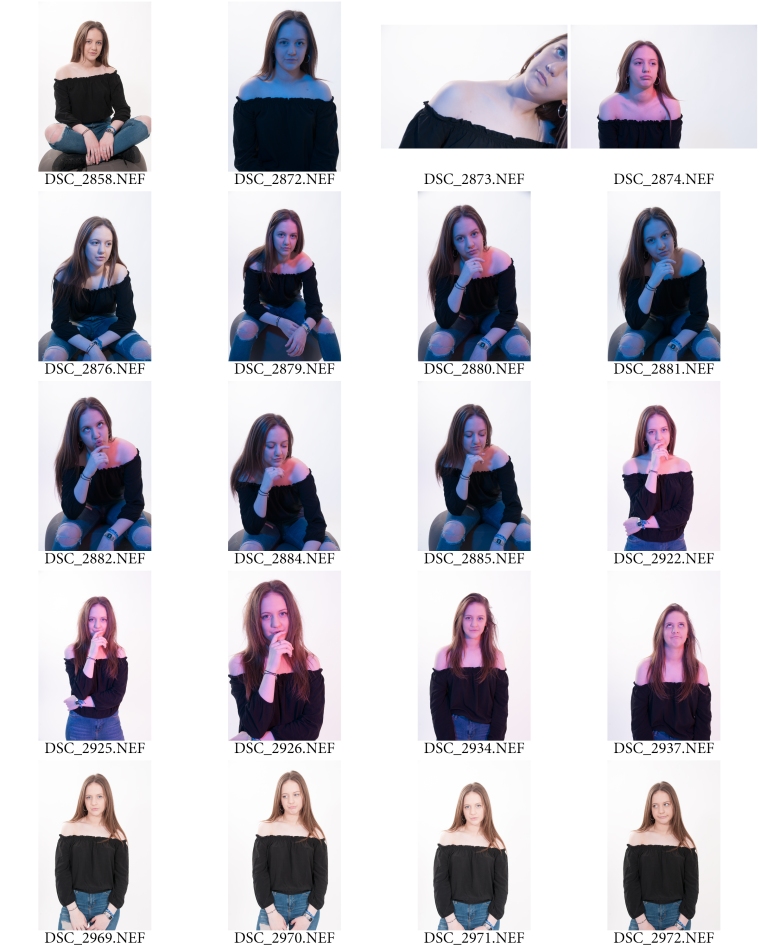
As you can see from looking at my contact sheets there are quite a few images where I am not ready at all, it took a bit of time to master how long I had between the click of the button and the camera taking the photo. As soon as I got the grasp of that I was able to take photographs that I could possible use in my final piece. To improve this shoot I should of had the colour balance set to flash instead of automatic, this would have helped to me the background our white instead of giving a light grey tinge.

Here are the outcomes of this shoot using self timer:
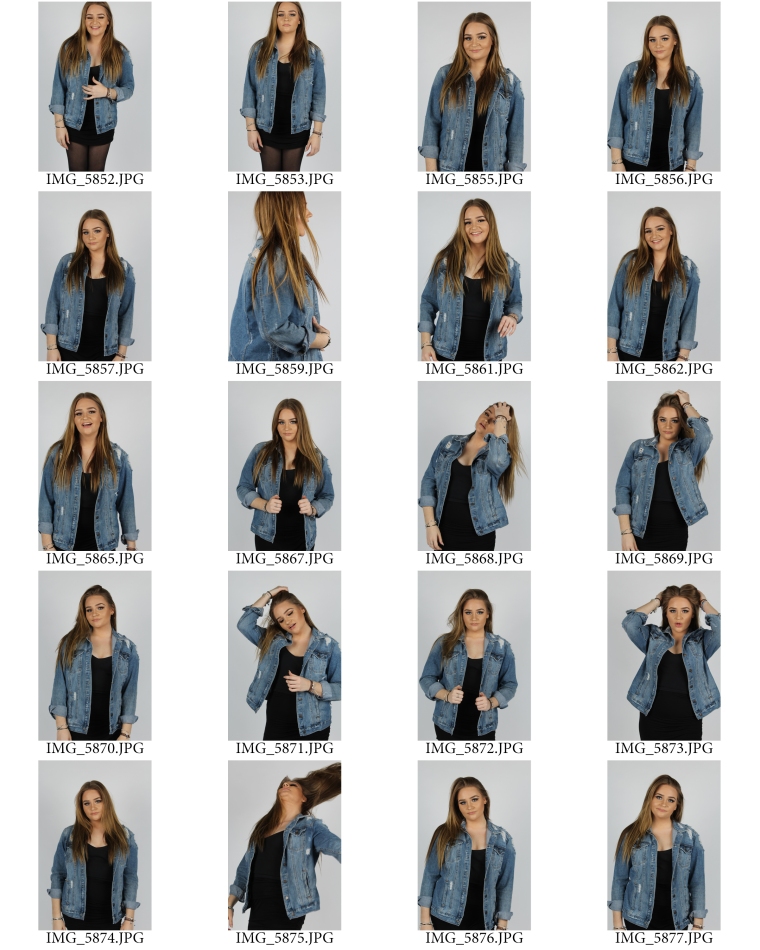
selftimerselftimer2selftimer3selftimer4

Experimental Shoot Plan 7 (Self Timer Technique)

As I am using Cindy Sherman’s concept of taking photos of myself for my final piece I will need to test out the self timer settings on my camera to make sure I am able to use it correctly and in time so I can click the button and then get into place to have the camera take the photo. I am focusing on the use of the self timer so for this shoot I will just be taking normal portrait photos so that I can master the settings on my camera in time for my final shoot.

The set up for this shoot will include a white backdrop and a set of two soft box lighting, as I have previously discovered in an experimental shoot I had taken before that soft box lighting is better for the type of photographs that I want to take and achieve.

I have never specifically used the self timer setting for any shoot I have done before, this is the first time I have had to use it, especially because I am taking photos of myself. I have had a look at my camera and explored the settings so that I had a slight idea of what to do once I am in the studio. To set up the self timer I have to click the left button on the camera dial. It ives you the options of Single Shooting, Continuous Shooting, Self-timer: 10 Sec, Self-tmer: 2 Sec and Self-timer: Continuous with the selection of 2 to 10 shots. In order to achieve this shoot I will be trying out the Self-timer: 10 Sec and Self-timer: 2 Sec options.
Experimental Shoot 6 Evaluation + Contact Sheets (Softbox Vs Harsh Lighting)

This shoot was taken purely to find out what type of lighting would be better when I comes to my final piece. When looking at modelling photographs that feature in magazines I find that the edges and detail are very eye catching however very soft. The model’s skin usually looks very airbrushed and soft looking. I wanted to see for myself what would work best, I could have just gone along with using a soft box without testing the outcomes. I feel it was best to find out for myself what lighting works best within a experimental shoot so that there is no last minute messing around in the final shoot. The same applies for any other technique and concepts that wanted to try before doing the final shoot.

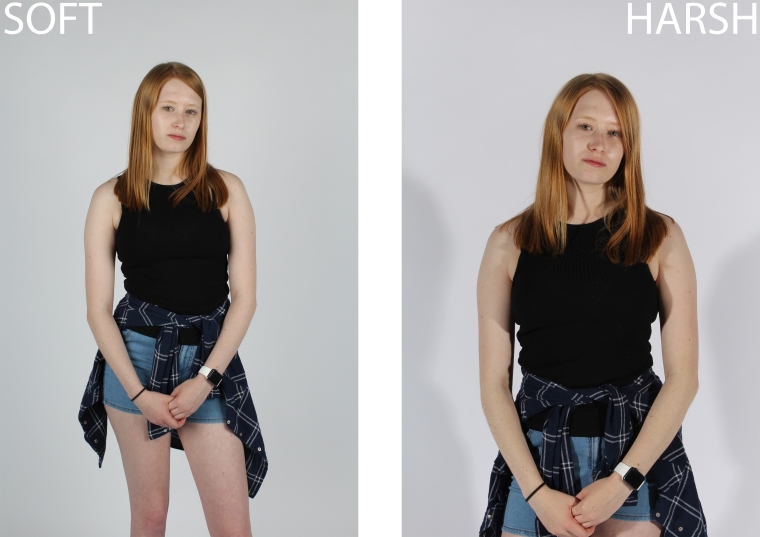
By the end of this shoot I was able to give examples of both types of lighting. I carried out a simple lighting test by taking just over 40 photographs of each lighting source. I took photos of the same person for both lighting tests so that it was easier for me to tell the different between the two lights. I took photos from the same angles and asked for my model to do similar poses. When comparing the images side by side I see that the soft box lighting smooths out any harsh edges and gives a soft airbrushed look to my subject. Her skin looks well lit, more glowy and healthier. Where as when I look at the harsh lighting photographs I find that the models face looks a little rough and red in some places, the discolouration in her skin would need to go through a heavier photoshopping process than the softball photographs would. The edges in the photo are very harsh and sharp as there is no guard between the light bulb and model to smooth out edges like the soft box does.

In conclusion to this shoot it has been proven that the soft box lighting will work better than the harsh lighting for my shoot as it targets the model well by lighting her face up for each photo as well as slightly airbrushing her skin and giving her a glowy complexion. I like that the light hits the high points of her face and gives her face a dewy look. I have to think of the post production when it comes to chose what lighting it better to use as it will be going through a photoshop process afterwards to be acceptable to feature in a magazine spread.

Soft Box Lighting

SOFT1SOFT2

Harsh Lighting

harsh1harsh2

Below are the examples of my soft box and harsh lighting images, These are the images I chose to compare when deciding what lighting I will continue to use in my shoots:
SOFTHARSH1SOFTHARSH2


Experimental Shoot Plan 6 (Softbox Vs Harsh Lighting)

For this shoot I want to experiment with the different types of lighting in the studio, this will help me prove what lighting equipment is best and more effective for the style of photograph I want it for. I will carry out a basic portraiture shoot in the studio, photographing the same person with the two different lighting equipment. I will then compare the two outcomes side by side to analyse the difference between them both. I will be able to tell what lighting is most effective and is better for the magazine shoots I want to do for my final piece.

To achieve this shoot I will use a white back drop, this will allow me to see the edges of the model well to see if they are soft or harsh depending on what lighting I use. For the first half of the shoot I will take a variety of portrait shots using soft box lighting. I will set up to soft boxes either side of the white back drop set up facing towards my model. I will then do the same for the second half of the shoot by setting up two harsh lighting either side facing my model. I will take similar pictures of my model so it is easy to compare the two. At the end of this shoot I would like to discover the lighting that I find most appropriate to use for a magazine shoot to then use during my final piece. I feel it is easier to do test shoots like I am now instead of messing about on the day of my final shoot trying to find out what lighting is best last minute. This will waste my time when I could be getting on with the shoot and producing high quality images.


Experimental Shoot 5 Evaluation + Contact Sheets (Rankin insp.)

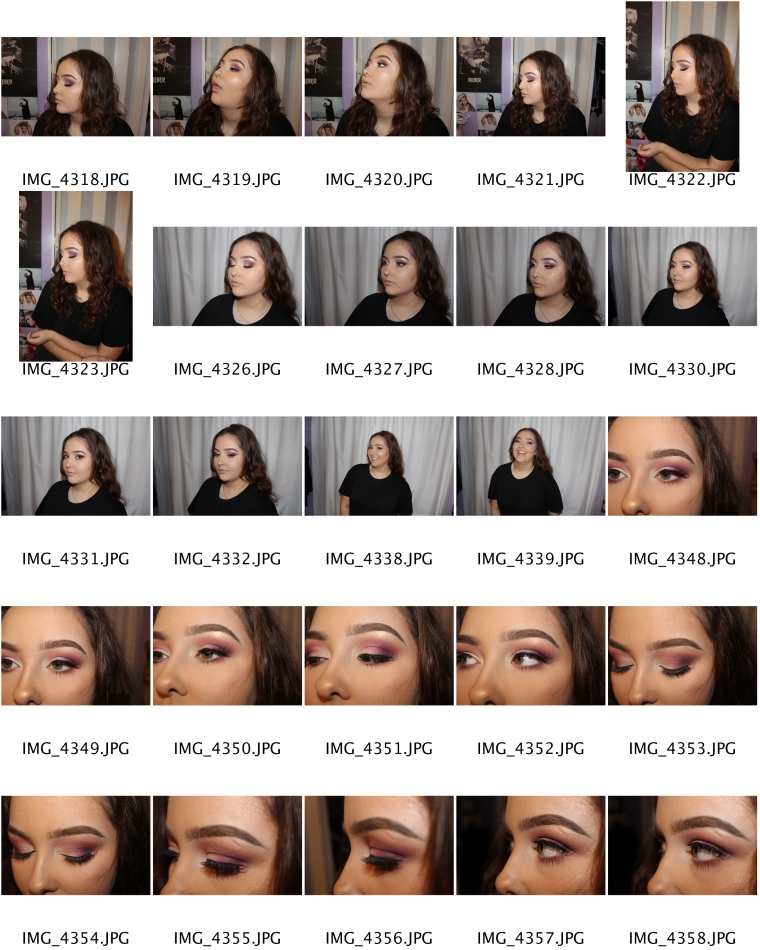
For this shoot I was to capture photographs in the style of Rankin, focusing on the makeup on my model. The makeup has to be a vibrant colour in order to fit in with the style of Rankin’s work. To complete this shoot I applied a bright pink eyeshadow to my models eyes, I used the Violet Voss eyeshadow palette to complete this look along with a full face application of foundation. I took around an hour and a half to apply a full face of makeup to my model, the pre production process I feel takes the longest as I had to make sure everything was done and perfect as I prepped my model’s face. I asked my model to wear black so that all of the focus was on her face, I wanted to avoid any colours and patterns that would clash with her makeup.

There was a point within the shoot that I thought I should try and cooperate with the resources around me and used my white curtains at a backdrop, this was effective as it took away any attention created by the background before and bought all eyes to the model only. I enjoyed this shoot as I was able to mix two of my favourite hobbies together and evaluate the photographs after. I can see when looking at my photos that the become more interesting when you have added an extra pop of colour to the face, it makes you take a double look as it isn’t a colour you would usually see on a face. If I was to do this shoot again I would definitely experiment with different colours and do multiple makeup looks. When I do my makeup for the front cover of the magazine I want my makeup to be bold and stand out, as I have played around with a few eyeshadow colours I will incorporate this idea into my final piece.

Here are the final outcomes of this shoot inspired by Rankin:

1234

Experimental Shoot Plan 5 (Rankin insp.)

For my fifth shoot I am going to capture photographs in the style of Rankin, he is a beauty and portraiture photographer. I am looking at Rankin within my project as a technique photographer, I am inspired by the way he takes photographs of models and adding vibrant pops of colour into their makeup. This helps the image stand out to the public audience, it targets people who are interested in beauty and style. For this shoot I am going to apply makeup to my model and then photograph the outcome. I want to see if a bright eye colour is effective or not in an image. I am a self taught makeup enthusiast, I teach myself how to apply makeup and allow myself to develop my skills everyday by doing my own makeup. I will use these skills within the pre production part of the shoot.

As I am shooting from home I am limited to the amount of space I have as I am shooting in my small bedroom and I will not have access to any source of flash lighting. The only sort of flash I will have if necessary is the built-in flash on my Canon 1200D camera. I will shoot in manual so I can adjust the focus and capture the tiny details of the skin on my model. I am not in need of any back drop as I am only focusing on the makeup in these photos.

Here are some examples of Rankin’s work and what I will take inspiration from when doing my shoot:


Experimental Shoot 4 Evaluation + Contact Sheets (Snowdon/Sherman insp.)

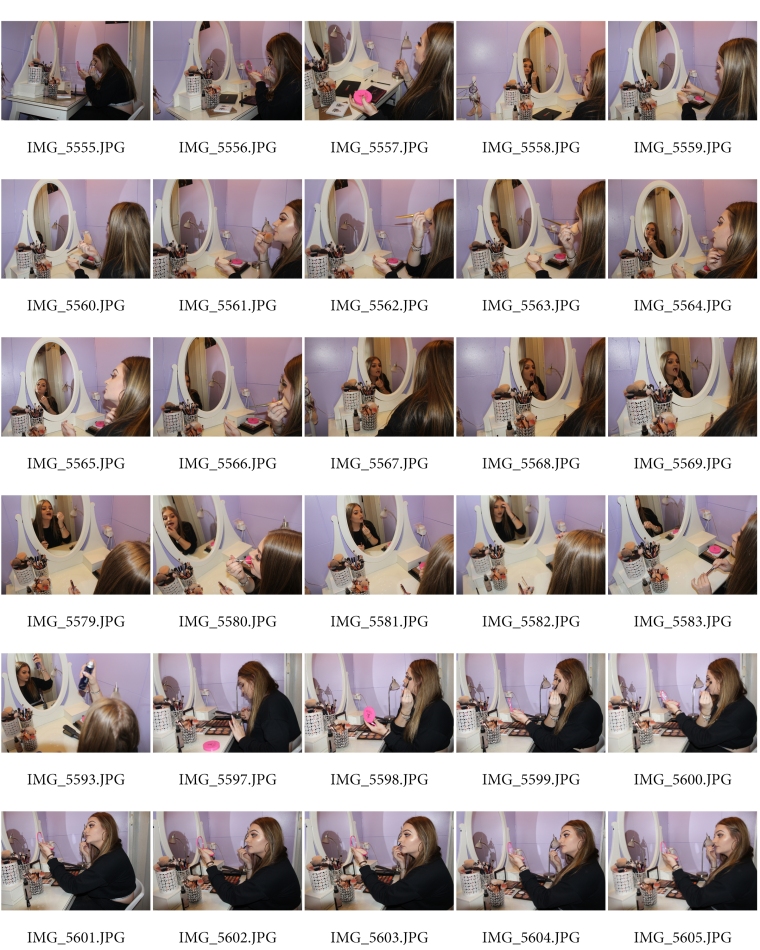
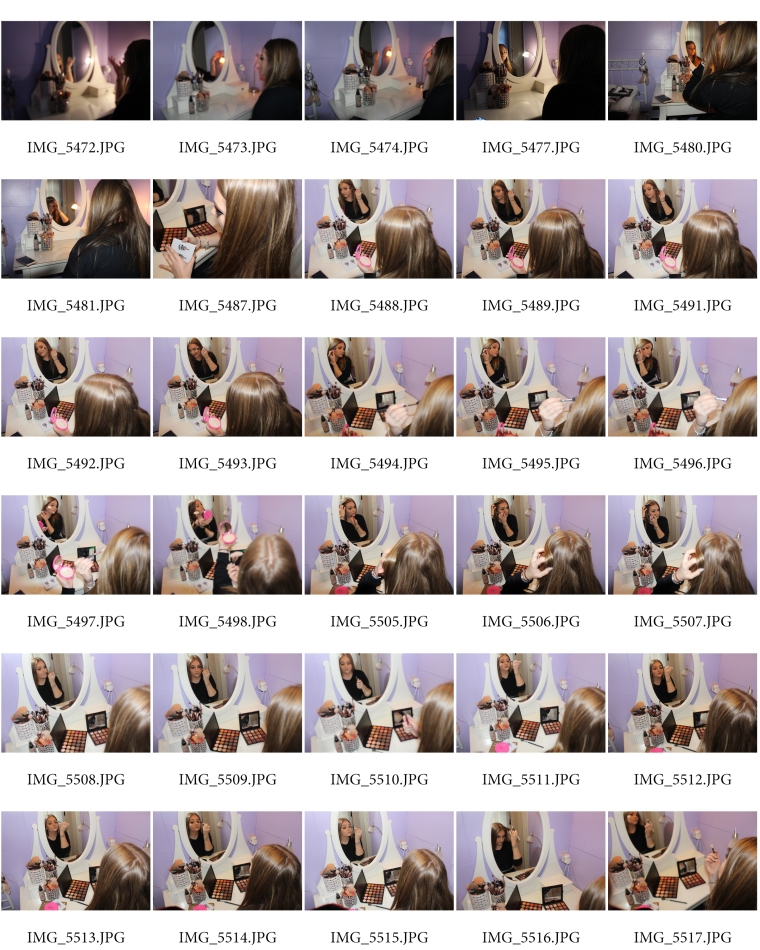
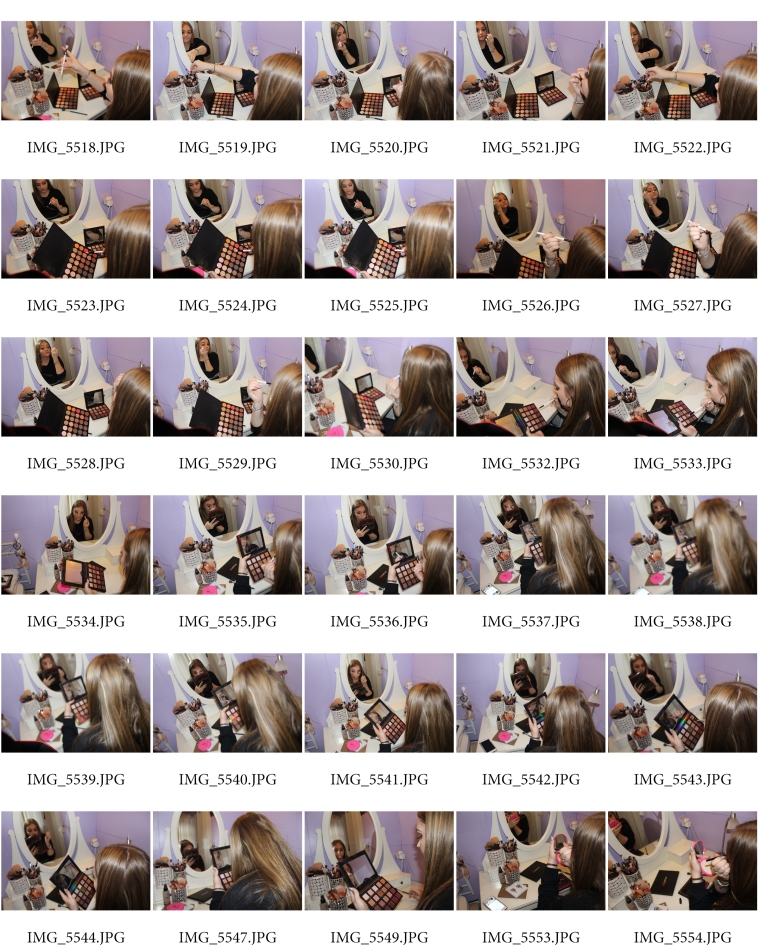
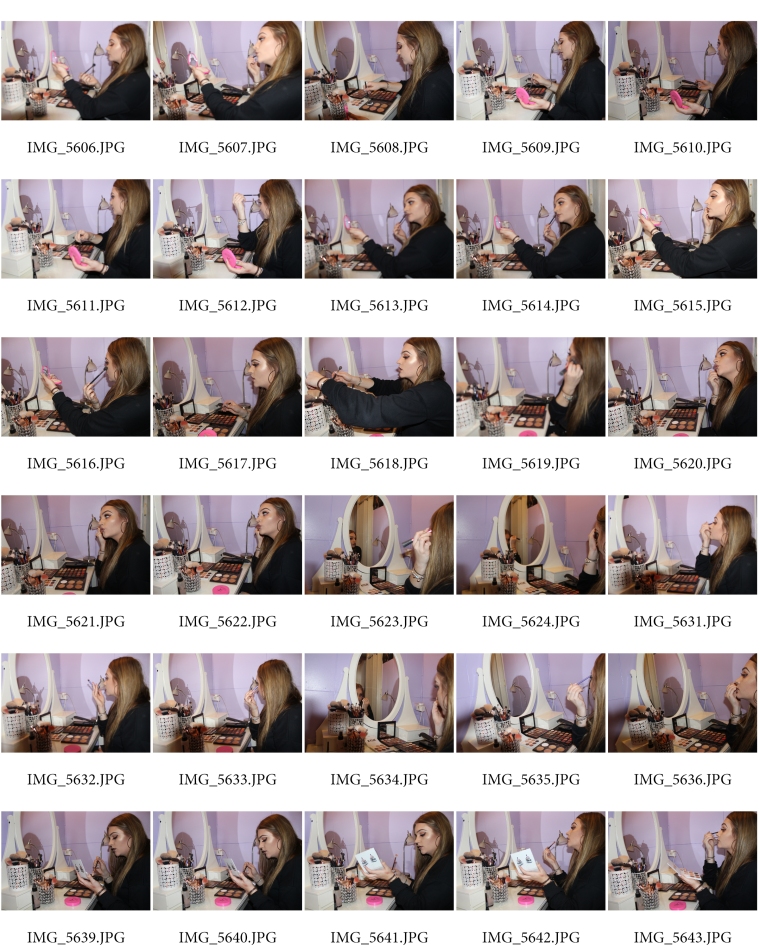
I have successfully completed my fourth experimental shoot by taking photos inspired by Lord Snowdon and Cindy Sherman, I was to capture pictures in the style of their work. I photographed myself using a self timer setting on my camera in my bedroom. I set up my camera on my tripod and adjusted it through the view finder to make sure it was aiming at the right angle so that I was seen clearly in the photos. I took a bit of time to adjust it correctly as I had to check in between shots before setting the self timer again. I had my friend to help assist the photoshoot so that the camera stayed in place and that the camera was going off each time as well as the flash. I had my flash on automatic as I had no other lighting source as I was shooting from home. Natural lighting from the window wouldn’t have been strong enough considering I shot in the evening and the sun wasn’t at it’s peak. Despite being able to shoot in the studio and avoid any of these minor problems, I desperately wanted to have my dressing table in my shots to make it look relaxed and location based instead of studio based.

The aim of the shoot was to have pictures of myself looking into the mirror of my dressing table whilst applying my makeup. I wanted to show the process of getting ready for a photoshoot. This shoot wasn’t full of serious posed modelling, instead I wanted to capture the supposed pre production, the part that comes before the actual shoot. Whilst taking the photos for my shoot I always referred back to the photographers I was influenced by, this allowed me to take inspiration on ideas for photographs. I kept in mind that I was using Sherman’s Concept and Snowdon’s technique and made it pretty clear throughout my entire shoot. I wanted the camera to capture myself looking into the mirror without getting the camera itself in the shot, I was successful as this didn’t happen at all. I took my time when adjusting my camera in each angle so that it wasn’t caught in the reflection. I didn’t directly look at the camera at any moment as I wanted it to look as if someone had caught me off guard.

Here are a few of my favourite shots that I feel would be appropriate to feature inside a magazine spread:

cs1cs2cs3cs4


Experimental Shoot Plan 4 (Snowdon/Sherman insp.)

For this shoot I am going to capture photographs in the style of Lord Snowdon and Cindy Sherman. Lord Snowdon captures images that are very laid back and taken purely for the memory, a variety of his photos are candid styled and I am aiming to take this technique of his and use it in this shoot. I am also cooperating Cindy Sherman’s concept of using myself in these images, I will use the self timer located in my camera settings, whilst also having the assistance of someone with me to help me make sure the camera is positioned right. I know that Cindy Sherman worked alone on her Untitled Film Stills project but I want to leave that to another shoot when I fully focus on taking the images myself as well as being in them. As I am also influence by Snowdon in this shoot I am only focusing on the concept of being in the photos.

To achieve this shoot I will be doing it on location at my house, specifically in my bedroom as I imagine my photos to look best situated at my dressing room table. Due to not having an additional lighting equipment I will have to make do with the built in flash on my camera. I use a Canon 1200D camera to complete my shoots. As I am taking these photos myself I will need to place my camera on a tripod in order to keep the camera steady and in the same place without me having to hold it. I am going to adjust the camera to where I think looks best as well as be in the photography myself. For this shoot I need assistance for now to make sure the camera always has me in shot as I feel it will be more difficult to achieve this shoot as my bedroom is smaller than a usual studio. I will use self timer and automatic flash when doing this shoot whilst I sit at my dressing room table applying my makeup as I look into the mirror. There are some photographs that Cindy Sherman had taken as part of her Untitled Film Stills project of her looking into the mirror, there is no camera or any equipment in the reflection of the mirror, she would have had to think about the placement of the camera to make sure it wasn’t seen. I want this shoot to look like the build up to getting ready for the front cover, it will be the contrast between the front cover and inside spread. The inside spread will be filled with more laid back types of photos to achieve the society style that Lord Snowdon uses.

Here are examples of both Snowdon and Sherman’s work:


Experimental Shoot 3 Evaluation + Contact Sheets (Reportage, MarioTestino Insp.)

I enjoyed doing this shoot as I was able to practice using the studio equipment before conning on with other shoots such as my final one. This shoot was inspired by Mario Testino and his style of reportage photography, I feel I was able to recreate one shots and take photos inspired by they way he takes his own photographs. Using a plain white background I shot around 60 different photos allowing me to look back and analyse them to see what would work best when featured in a magazine. I asked my model to keep a serious facial expression as I wanted the type of photos to go along well with a serious interview found in a magazine.

No matter what the circumstances are, magazine shoots are photoshopped heavily to allow peoples perceptions of models/artists to be of a high standard. I used a soft box to help with this issue as it was able to give an airbrush effect to the images and have soft edges to create a soft flawless illusion. There was a time during this shoot where I used harsh lighting either side, however I placed coloured gels over the front of the light, this would have helped blur lines and create soft edges without using a soft box, plus adding a colour on top to set a mood. I feel that colour is something eye catching, especially if it is used in the right way, I didn’t want to over power my photographs with a coloured background, so instead I kept it plain and white but added coloured gel lights, so it lightly washed over my model when the flash went off. I had to go through the box of gel coloured plastic sheets to see what colours worked best together what looked most effective in the images shown on the camera.

I feel I have already been able to show my progression within shoots when I compare my Annie Leibovitz inspired shoot to this one. I can see how I have developed my work by the use of lighting and angles. In my Annie Leibovitz inspired shoot I didn’t use the soft box lighting correctly as I felt I was rushing to get a shoot done. In this case I was able to set up the soft box lighting on each side of the set this enabled the flash to light up the set  that the camera picked up through the lens. The two shoots were similar as I was capturing portrait shots in both shoots. This meant that it was easier to see the difference in development between each set of images. I could see straight away how poor my lighting was in the Leibovitz inspired shoot compared to how well the photos were lit in my testing inspired shoot. There was shadows in the Leibovitz shoot, something I didn’t want in my photos, when it came to the post production process I tried my best to edit the shadows out as much as possible, I felt my images looked a whole lot better after I had removed them. As I set up my lighting correctly in my Testino inspired shoot, it meant that there was no shadows to edit out, this created one less job for me as a photographer and post production editor. I then only had to worry about cropping or adjusting brightness etc. I feel my photographs look more professional now once I have all of the aspects of the shoot correct. I will now make sure I take my time with setting up each shoot in the future to make the following jobs easier for me.

I feel that this shoot was successful and I was able to produce a set of images influenced by Mario Testino. This shoot has helped develop my studio skills as well as practicing with the use of different lighting and elements of colour.

cs1cs2cs3

My favourite shots from this shoot are between 2880, 2926, 3055 and 3028 as I feel they are the most serious faced and would be most likely to feature in an interview base magazine just like Testino’s. I have picked two different images from each side of the shoot, plain soft box lighting and harsh coloured lighting.

Experimental shoot Plan 3 (Reportage, Mario Testino Insp.)

The following shoot is inspired by the works of Mario Testino who captures fashion photography, I will focus this shoot on his style of reportage. His photos are the type you would see features in an interview magazine, full of serious posed photographs. A lot of his work is head and shoulder shots, focusing on the face and top half of the model/artist. The model/artist is always looking directly at the camera, this is something i need to consider when doing my own shoot. I will need to have full contact and communication with my model in order to achieve the photos I want. When I look at Testino’s images online I can image them being paired with a serious kind of interview rather than next to a gossip column. However, as he captures fashion and style his style of photography does vary as he focuses on the clothes and trying to promote them as well.

To capture these photos  I will set up the equipment in the studio, starting with a white backdrop followed by setting up 2 harsh lights either side. I will use harsh lights so that the details within the photo are not going to be missing. I want my models face fully lit with no shadows in the photos. I will also try shoots a couple photos with soft box lighting to see the difference between the two types of lighting. This will help me see what works better for my images. I will focus capturing head and shoulder shots as well as three quarter lengths head to waist shots. With the variety of images I will take I will refer back to magazine covers and inside spreads to make sure they fit in with that sort of environment.

Mario Testino has helped influence my shoot/work, here is some of his work I am referring to: