Digital Process
In able to take a photo using a pinhole you needed your DSLR camera, however you needed to have take your lens off and place the body cap in it’s place. The body cap would have a small hole drilled into it in order for the aluminium to be placed within the hole having the tiny pinhole in the middle. When taking the photo i had to play around with the shutter speed and exposure. I had to let enough light into the lens to make the photo as clear and light as possible. After a couple goes at taking the photo, I had the shutter speed set on 1/100 and the ISO set on 6400.
Sometime the photo would be too under exposed, i would know this because the picture would be too dark to make anything out, to fix this I would have to have the shutter speed on for longer to allow more light in to brighten up the photo:

If the photo was too over exposed it would mean the photo would come out white meaning you could make anything out within the photo, to fix this I would have to put the shutter speed on fora smaller amount of seconds, this would mean not as much light as before would be allowed through to the lens:

After adjusting the shutter speed, aperture and ISO to the right settings I was able to produce some good pinhole photos:


Wet Film Process
The wet film process took place in the darkroom where wee had to pick a box out of the variety of sizes and place light sensitive paper at the back of the box opposite to the pinhole made in the side of the box. We then had to take the box out of the darkroom whilst keeping our finger held over the pinhole to allow not entrance for the light. When we had found our destination of what we wanted photographer we placed the box down facing the object, lifted our fingers off to enable the light to get through and left it for the desired amount of seconds needed depending on the size of the box. We then placed our finger on top of the pinhole on the box after we had taken the picture and went it get it developed in the darkroom. To do this it was left for 2 minutes in the developing solution, 30 seconds in the stop bath, 5 minutes in the photographic fixer then in a water wash bath for half an hour, ready to be put on the drier.
The wet film pinhole process took much longer than doing the digital process, this was due to be able to take one sheet of light sensitive paper in the box at once meaning only one photo was developed at a time. Each time there would be something to improve on the photo the next time round meaning more trip to and from the darkroom. The first pinhole photo I developed came out white with black speckles, this was because i left it too long and the photo over exposed:

The second time round i decided to leave the pinhole camera box for less time, I left it for 30 second and the out come came out better than most of the one I did before:
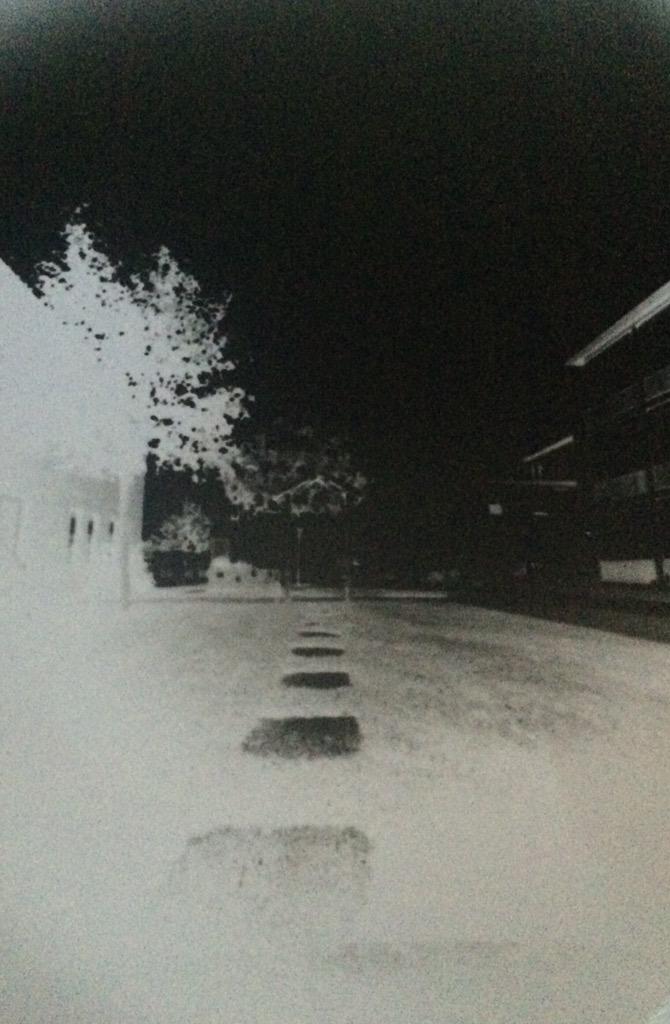
Although, to improve this I would leave it for 5 or so seconds longer to have it more exposed increasing the detailing of the brick work.
